Help
Porterage Service Management System
Porterage Services is the process by which Admin Assistants of different units/sections/divisions and selected UNECA staff members make porterage requests for different purposes. The porterage request gets approved and one or more porters gets assigned to the request.
This online Porterage Service Management System is used by Admin Assistants of units/sections/divisions, the Supply Chain Management Section (SCMS) staff and the Porterage Agency supervisor use this request and track porterage requests.
This online Porterage Service Management System is used by Admin Assistants of units/sections/divisions, the Supply Chain Management Section (SCMS) staff and the Porterage Agency supervisor use this request and track porterage requests.
To access Porterage Service Management System,
Open any browser(Firefox, Internet Explorer or Chrome) and type in "http://porterage.uneca.org" on the Address Bar.

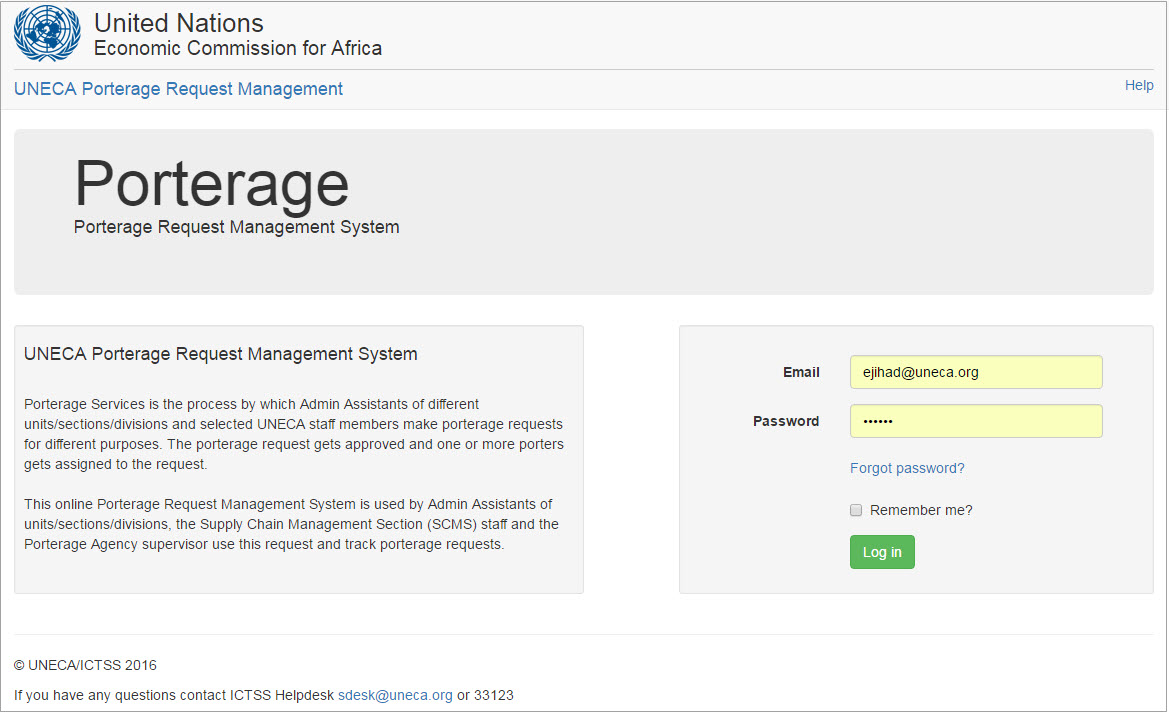
A Log-in page will show up after you open the Porterage Home Page.
- Enter your email and password
- Clcik on the Login button to log into the system
- Click on the Forgot Passowrd link to reset your passowrd
- Check on the Remember me? check box if you want the browser to remember your password.
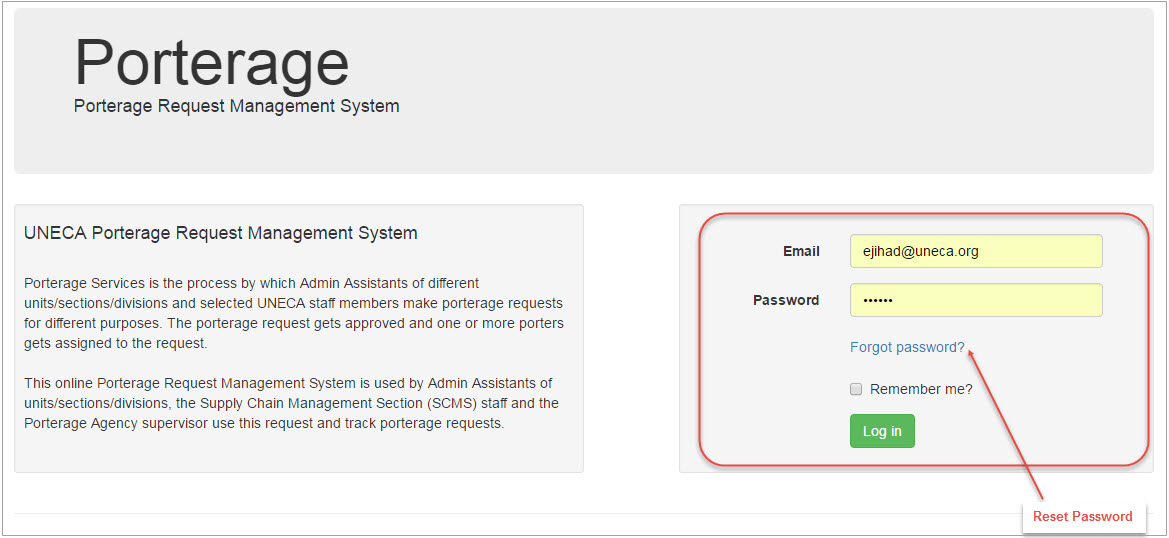
If you forget your password,
-
Click the Forgot password? link on the login page
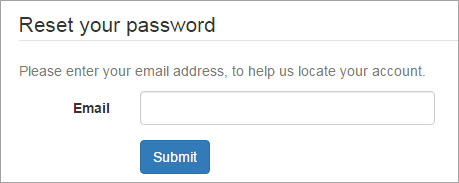
- Enter your email address and click on the Submit button
- An email containing a link to reset your password will be sent to you
-
Open the link that is sent to your email
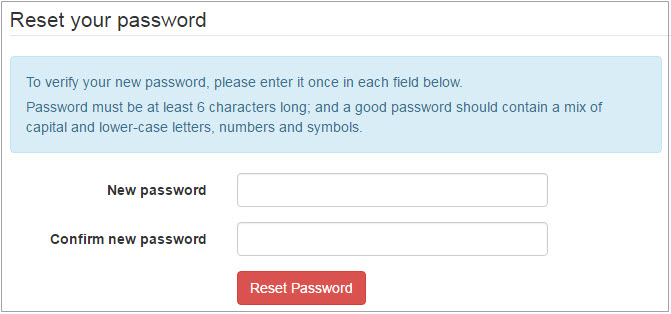
- Enter your new password in the spaces provided
- Click on the Reset Password button after you type in your new password.
View and Create Porterage Requests
To access porterage requests, please go to the Porterage Service Management System link at the top of the page.
- The full name of the logged in person will be displayed at the top left section of the page.
- Below the name appears Inbox menu item. Next to it is the number of requests in the user's inbox.
- Under the My Requests menu section, there are menu items for accessing porterage requests created/submitted by the logged in user.
- Under the Requests menu section, there are menu items for accessing all porterage requests. This menu section is only available for Approvers and Assigners.
- The table on the right section of the page displays list of porterage requests with the selected status from the menu items.
-
You can search for a porterage request by using the search feature:
- Enter a set of characters in the search area to search for a porterage request.
- Click on the Search icon.
- You will see a list of porterage requests that contain the entered characters either in the reference number, requester name or requesting office of the porterage request.
-
Create a new porterage request by clicking on the Create Porterage Request button. You will get redirected to a new page with a blank form as shown in the image below.
Enter division/secion, position, extension, purpose, task date and remarks. When you finish, click on the Save or Submit button.

View and Process Porterage Request
To access a porterage request, please select the reference number of a porterage request from the list of requests.
- At the top section of the page, the status of the selected porterage request is displayed.
- Below the status, the Reference Number of the porterage request is displayed.
- The first tab Request let's requesters edit thier requests.
- You can edit the porterage request by modifying division/section, position, extension, purpose, task date and remarks. Once you finish editing click on the Save button to save the changes made and the Discard Changes button to discard the changes made.
- You can change the status of the porterage request by clicking on one of the action buttons at the top. The buttons that get displayed depend on the status of the porterage request.
- At the bottom section of the page, you can see the who created, submitted, updated, approved, assigned and completed the porterage request including the dates the actions were last performed on.
- At the bottom section of the page, you can see the whole history of the porterage request by expanding the History section.
-
You can assign and complete the request by clicking on the Assignment & Completion tab.

- You can assign porters and dates for the request under the Assignment section. You can check if there are conflicting schedules by clickin on the Show Schedule button.
- You can complete the request by filling out the information under the Completion secion.
-
You can close the request by clicking on the Clousre tab.

- You can use the left section of the form to fill out how long the task took.
- You can use the right section of the form to evaluate the servie provided for the porterage request.
View and Create Porters
To access porters, please go to the Porterage Service Management link at the top of the page.
- Under the Porters menu section, click on the Manage menu item to manage porters. This menu section is only available for Porter Managers.
- The table on the right section of the page displays list of porters.
-
You can search for a porter by using the search feature:
- Enter a set of characters in the search area to search for a porter.
- Click on the Search icon.
- You will see a list of porters requests that contain the entered characters either in their first name or last name.
-
Create a new porter by clicking on the Create Porter button. You will get redirected to a new page with a blank form as shown in the image below.
Enter first name, last name, company and status of the porter. When you finish, click on the Save button.

View and Edit Porter
To access a porter, please select the full name of a porter from the list of porters.
- You can edit the porter infomration by modifying first name, last name, company and status. Once you finish editing click on the Save button to save the changes made and the Discard Changes button to discard the changes made.
- At the bottom section of the page, you can see the who created, and last updated, the porter information including the dates.
View Report List
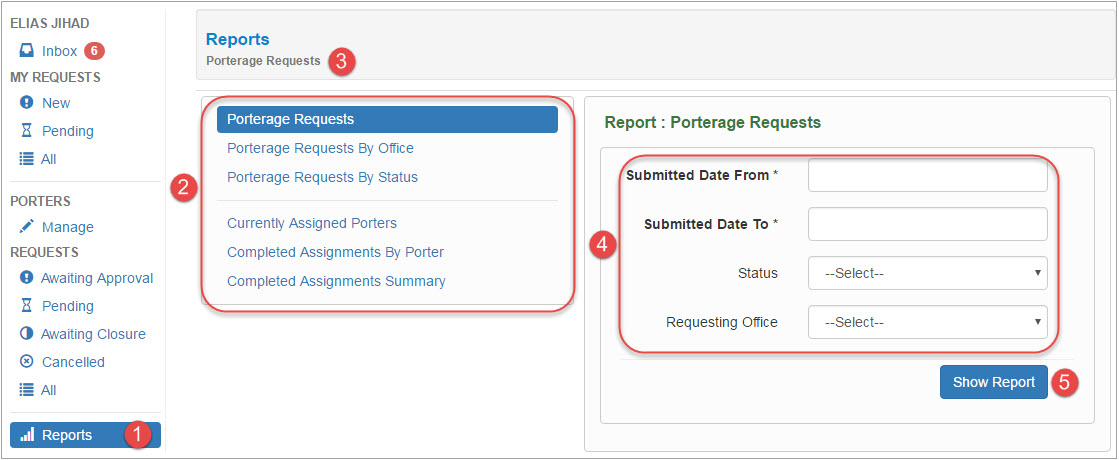
- To access reports, please clickon theReports menu item in the left side of the page
- In the center of the page, the list of available reports is listed. Click on the name of a report to view a report.
- On the top of the page, the name of the selected report is displayed.
- The parameters for the selected report will be displayed on the right side of the page. The number of parameters varies for each report. If the parameter is required to view the report, the name of the parameter will be displayed in bold. Enter a value in the area provided or select a value from the drop down list.
- Click on the Show Report button to view the selected report. You will get redirected to a page that displays the report.
View a Report
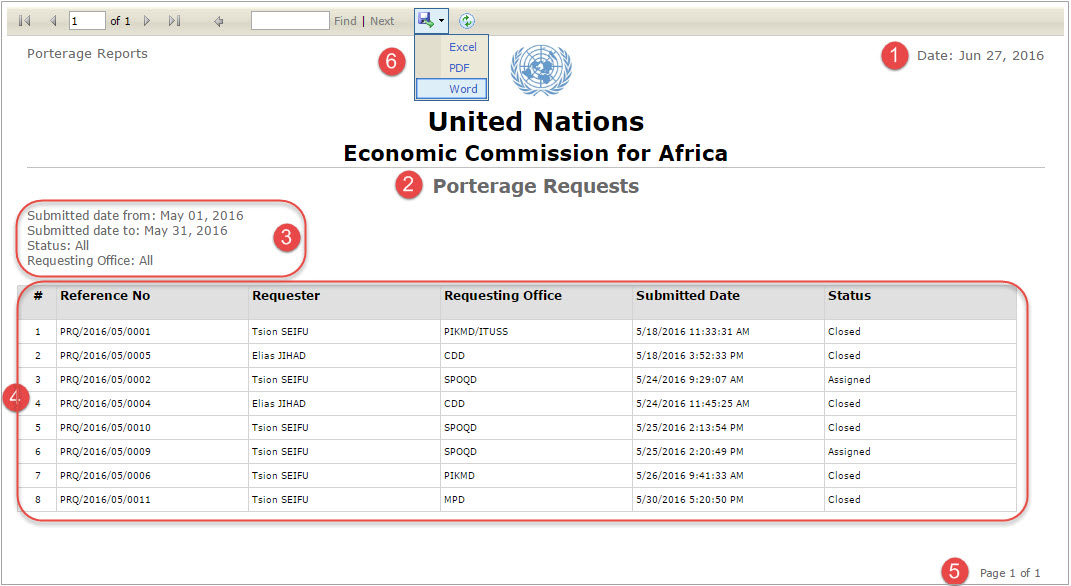
- At the top right section of the page, the current date is be displayed.
- At the top of the page, the title of the report is displayed.
- Below the title of the report, the selected parameters are displayed.
- The list of items of the selected report are displayed at the center of the page.
- The current page of the report is displayed at the bottom right side of the page.
- The report can be exported to an Excel, PDF or Word file.